
01 / 04
Blisters and bubbles
Moisture or air trapped under the membrane, heated by the sun. Usually laid on a damp or poorly primed surface.
Patching the blister won't fix the cause.
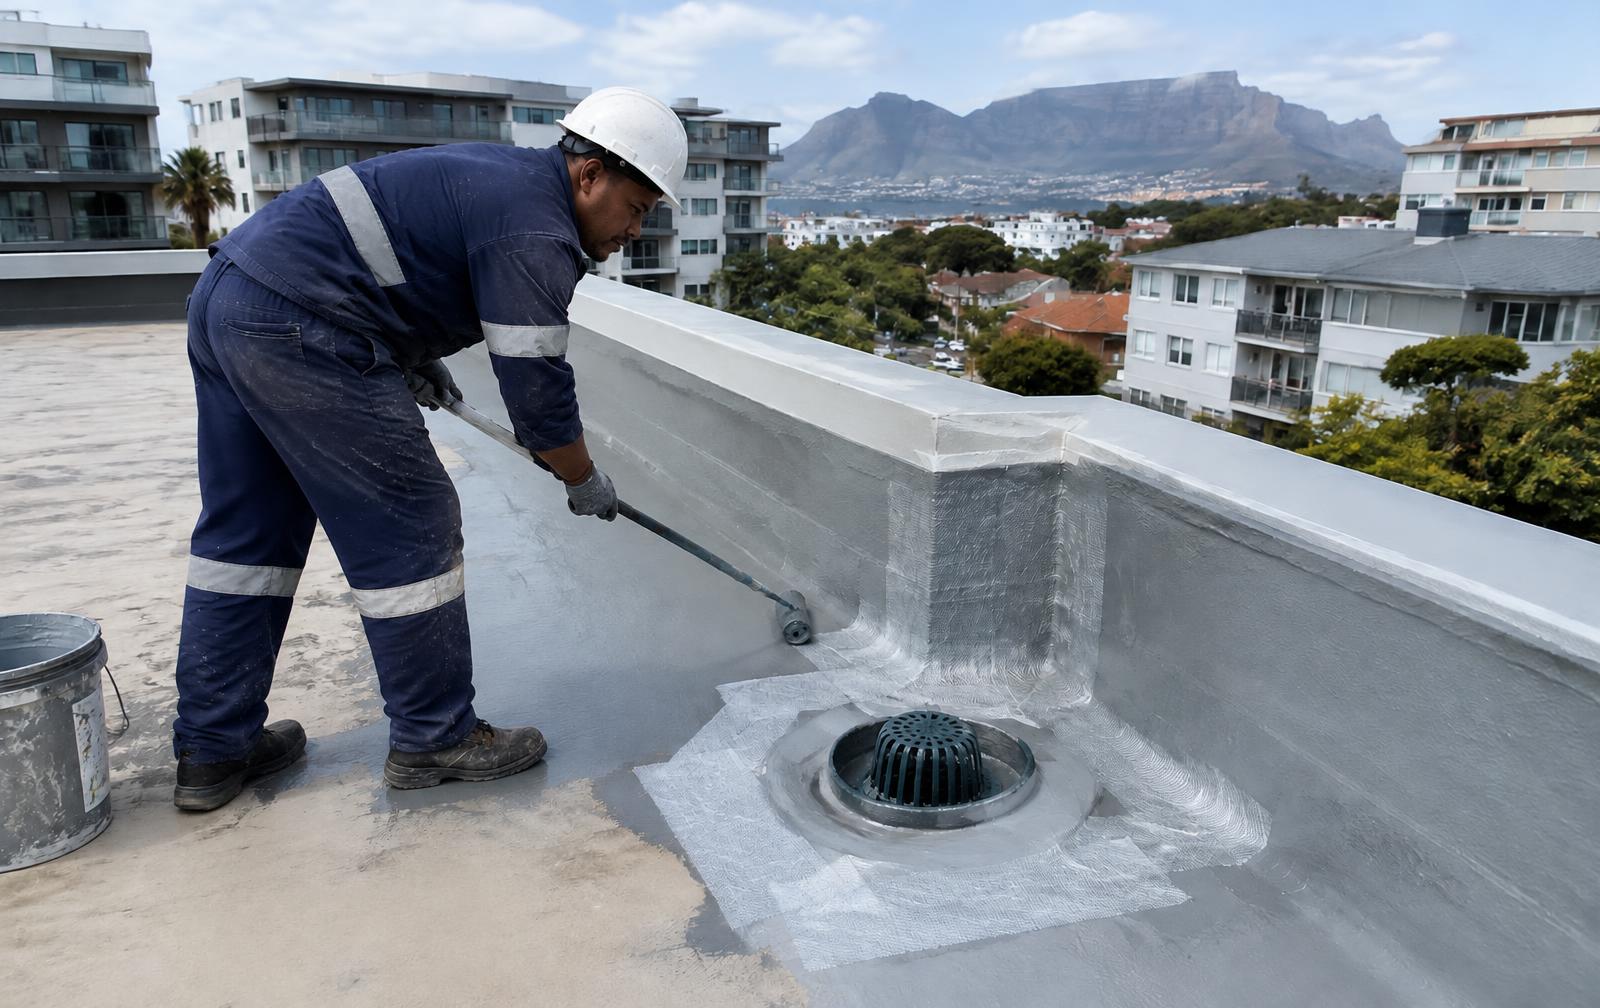
Torch-on and liquid-applied waterproofing for flat concrete roofs, box gutters, parapets and balconies. Built for Cape Town winters.
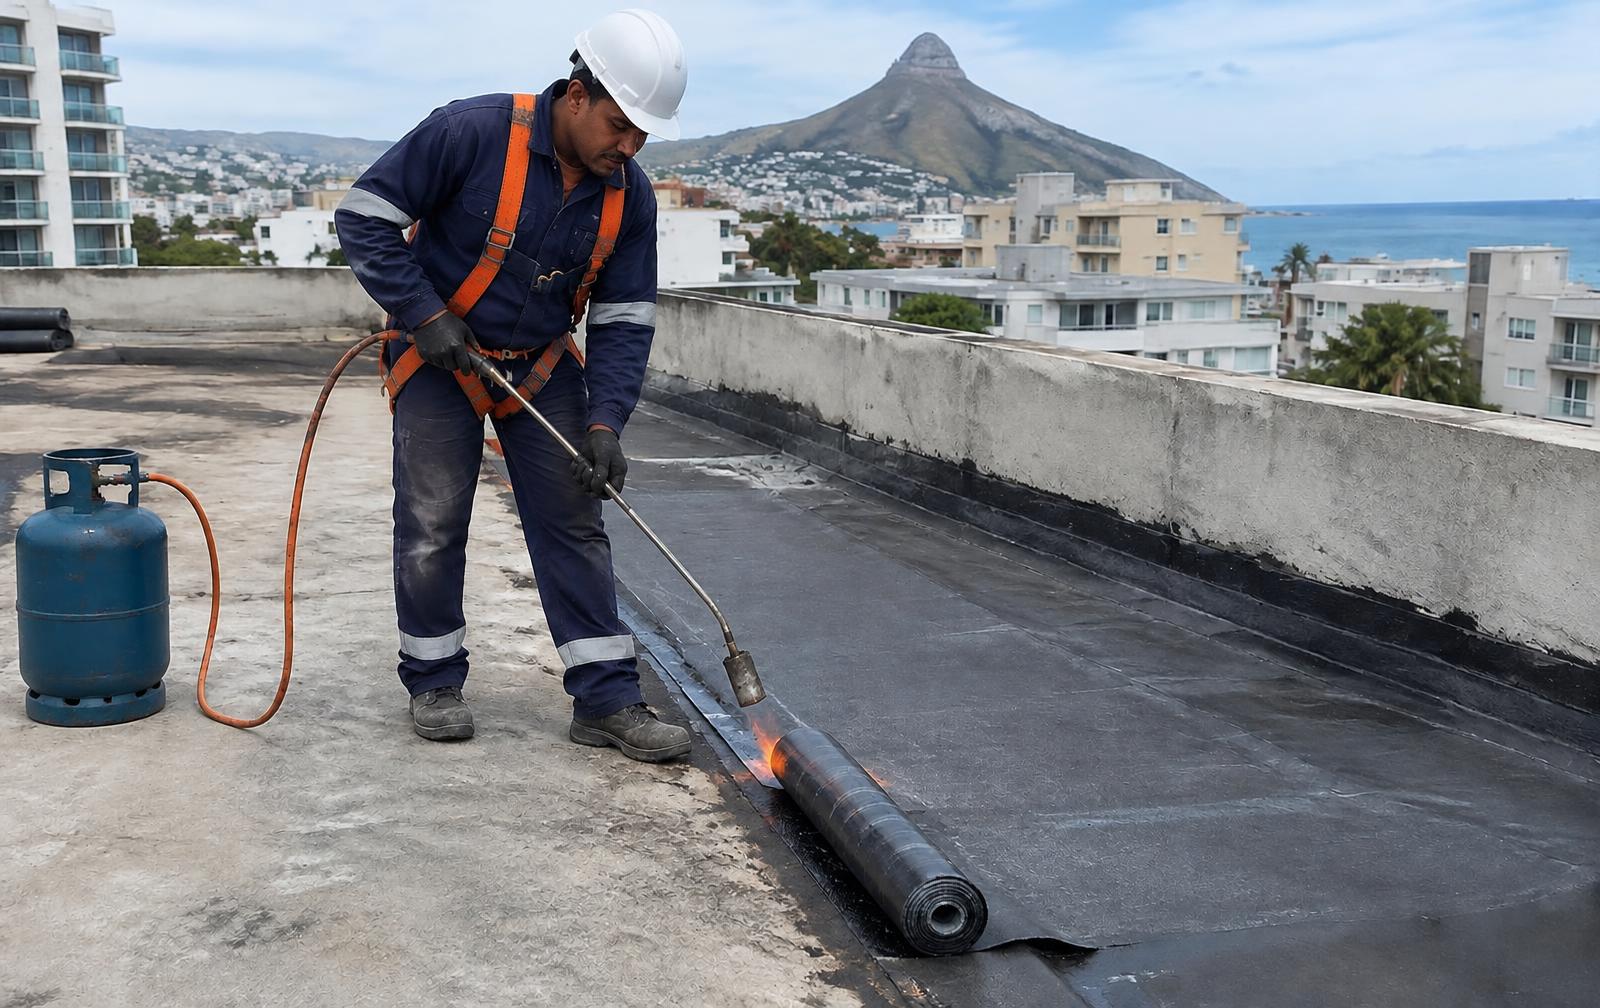
Membranes bubble and lift when they go down on damp, dirty or cracked surfaces. Coatings peel when the edges aren't detailed.
We spend the time on preparation and detailing. That's where the job is won or lost.
Every failed membrane leaves clues. Reading them properly is how you avoid the same failure twice.
01 / 04
Moisture or air trapped under the membrane, heated by the sun. Usually laid on a damp or poorly primed surface.
Patching the blister won't fix the cause.
02 / 04
Laps that weren't fully bonded, or a membrane that's aged and shrunk. Water tracks straight under.
Often the whole layer is near the end of its life.
03 / 04
Water sitting for days means the falls are wrong. It speeds up ageing and finds every weakness.
Sometimes the screed needs correcting before any new system.
04 / 04
Membrane pulling away from parapets and walls. Poor termination or no flashing over the top edge.
The detail at the edge matters as much as the field.
Torch-on membranes
Flat concrete roofs and large decks
Hard-wearing, proven, good over big areas.
Liquid-applied coatings
Complex shapes, details and metal roofs
One continuous layer around outlets and penetrations.
Box gutter linings
Commercial roofs and parapet gutters
Where most commercial leaks start.
Cementitious systems
Balconies and wet areas under tiles
Goes under the finish, bonded to the slab.
Reflective top coats
Exposed membranes and metal roofs
Protects the layer below from sun damage.
Systems are chosen per surface, use and exposure after the inspection.
An outlet is the busiest spot on a flat roof. Every litre passes through it. If the detail around it is weak, the whole system is weak.
We reinforce outlets, corners and upstands before the main coat goes down. It takes longer. It lasts.
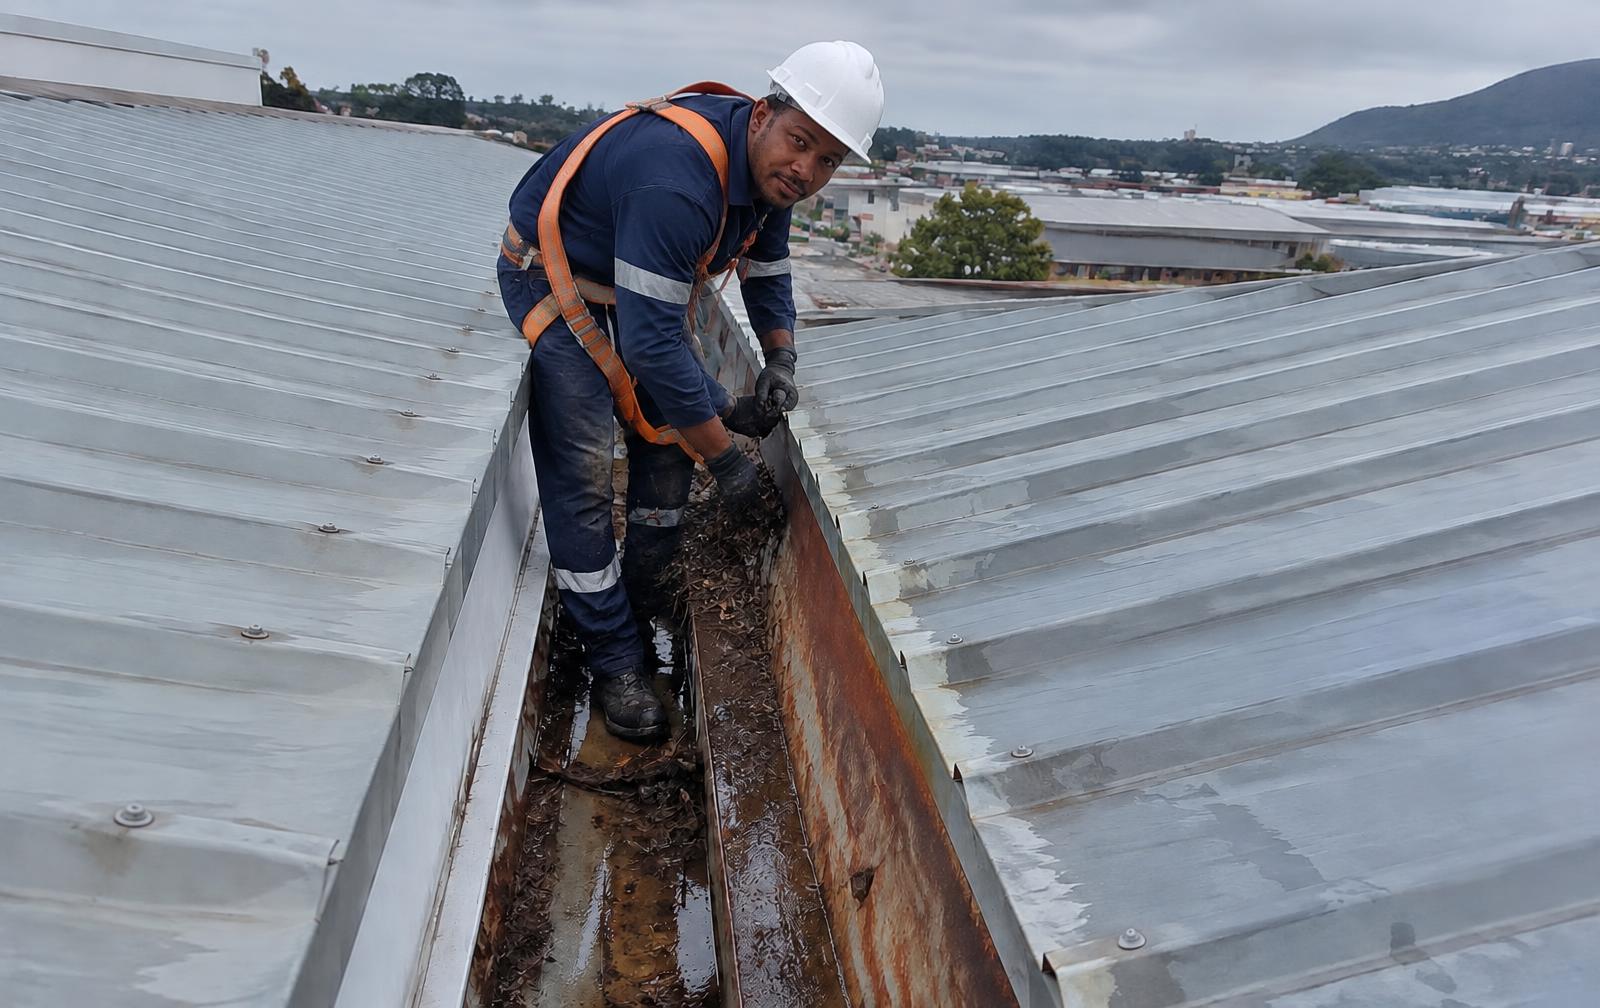
Blocked, rusted or undersized. The classic commercial leak.
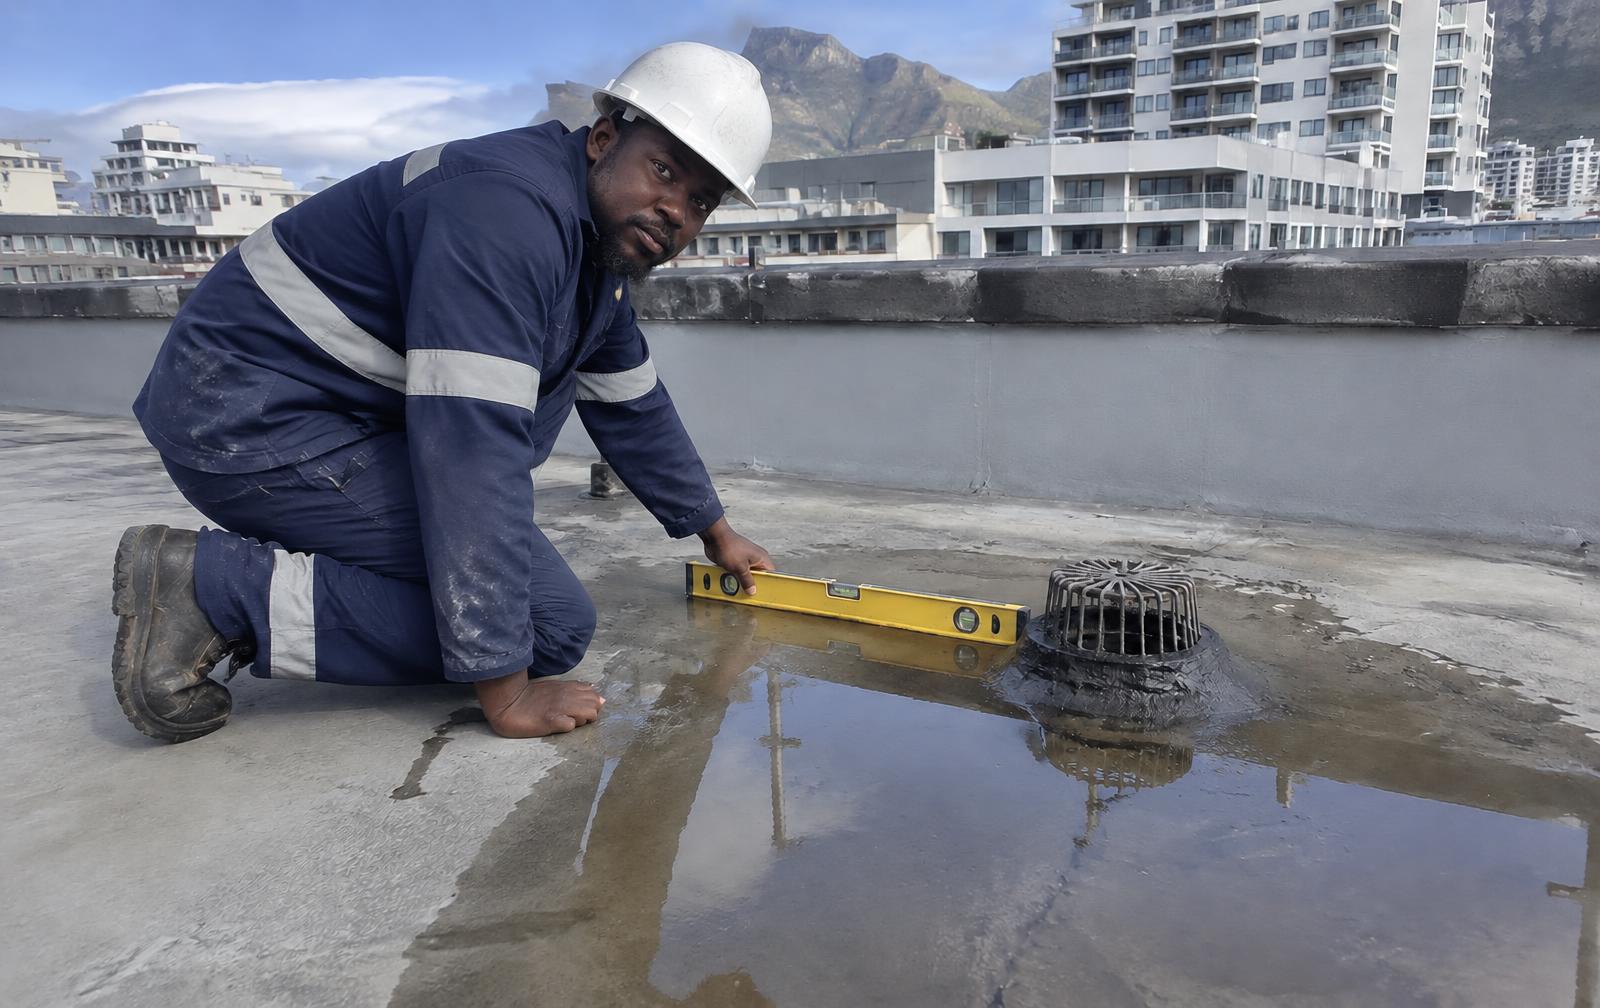
Aged membranes, ponding and failed laps on concrete roofs.
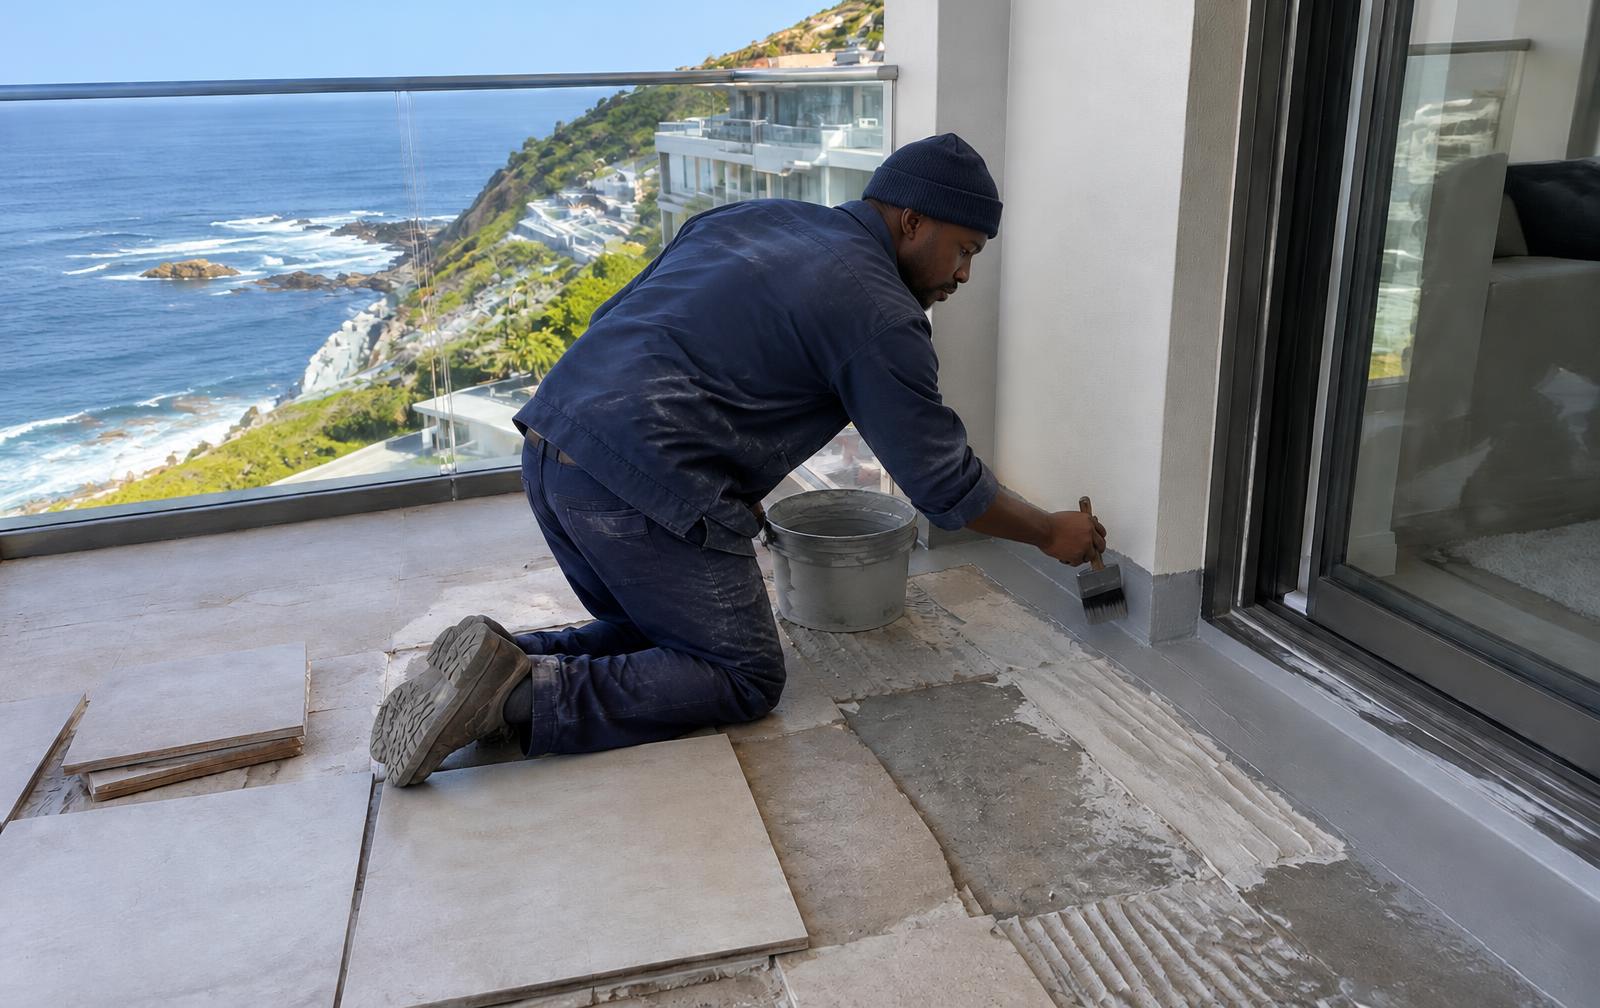
Water under tiles shows up as damp in the room below.
Quality roofing and waterproofing starts with quality materials. We work with recognised manufacturers and suppliers to deliver reliable, long-lasting roofing solutions.
 Roof sheeting and cladding
 Timber roof trusses
 Concrete roof tiles
 Roof insulation
 Skylights and roof windows
 Waterproofing systems
The same process on a warehouse or a family home. You always know what happens next.
Tell us about the building and the problem. We aim to be on site within 48 hours of your enquiry.
We go up and look properly. R2,200, deducted from your quote if you go ahead. Your report follows within 48 hours.
A clear quote with the work, materials and sequence spelled out. No vague line items.
Work booked around your tenants, staff or family. One contact person throughout.
We walk the roof with you, clean up and hand over the paperwork.
Waterproofing doesn't usually fail in the middle. It fails at the edges, joints and outlets.
01 / 05
Water that sits for days breaks a membrane down fast.
If the slab doesn't fall to the outlets, no product will fix it. The falls come first.
02 / 05
Cape Town roofs bake in summer and get hammered in winter.
Cheap membranes crack along the laps as they expand and shrink.
03 / 05
The membrane has to turn up the wall and be sealed under a flashing.
Stop it short and water runs straight behind it.
04 / 05
Leaves, sand and old membrane block the drain. Water backs up.
A box gutter that overflows dumps water inside the building.
05 / 05
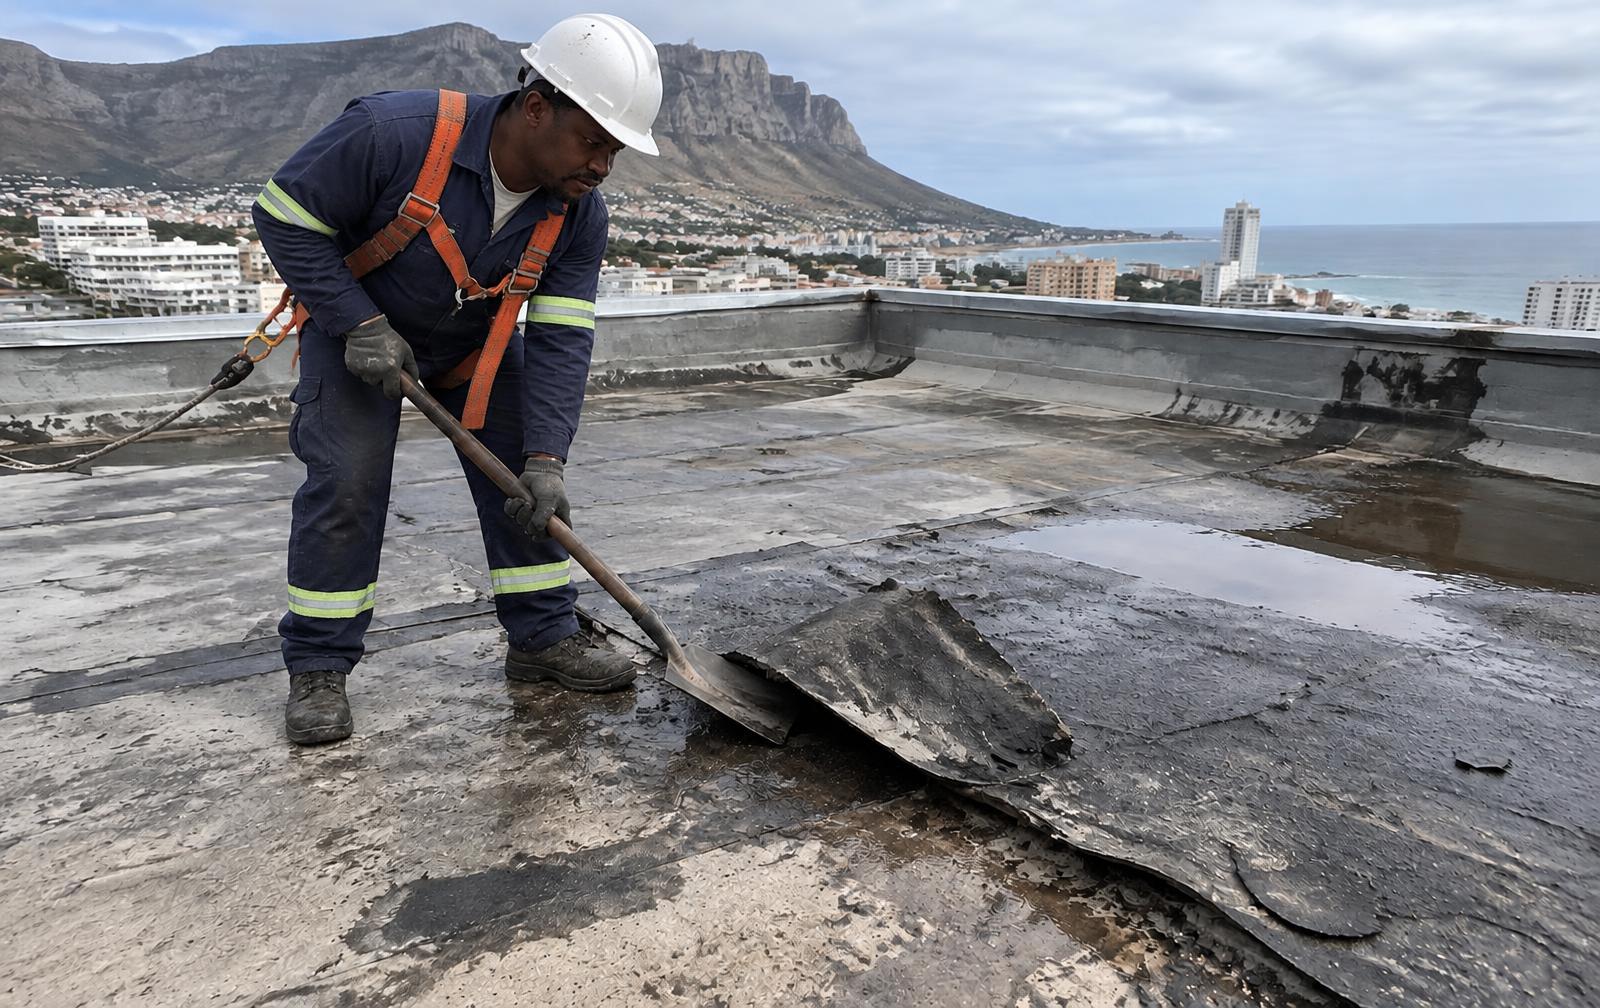
New membrane over wet, failed membrane traps water underneath.
Sometimes the only proper fix is to strip back to the slab.
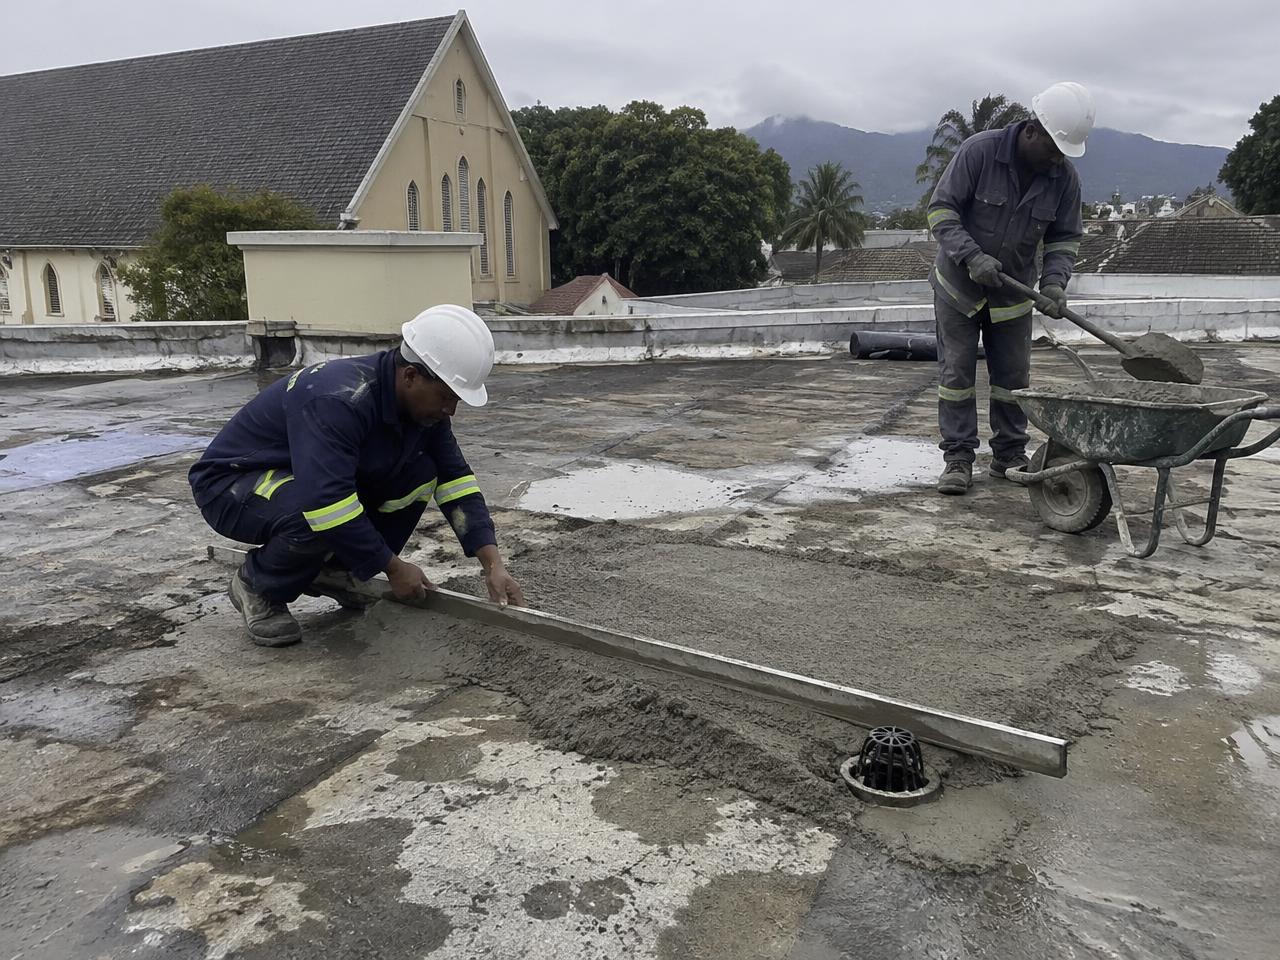
Flat roof · Wynberg
Water was standing for days. We corrected the falls to the outlet before any membrane went down.
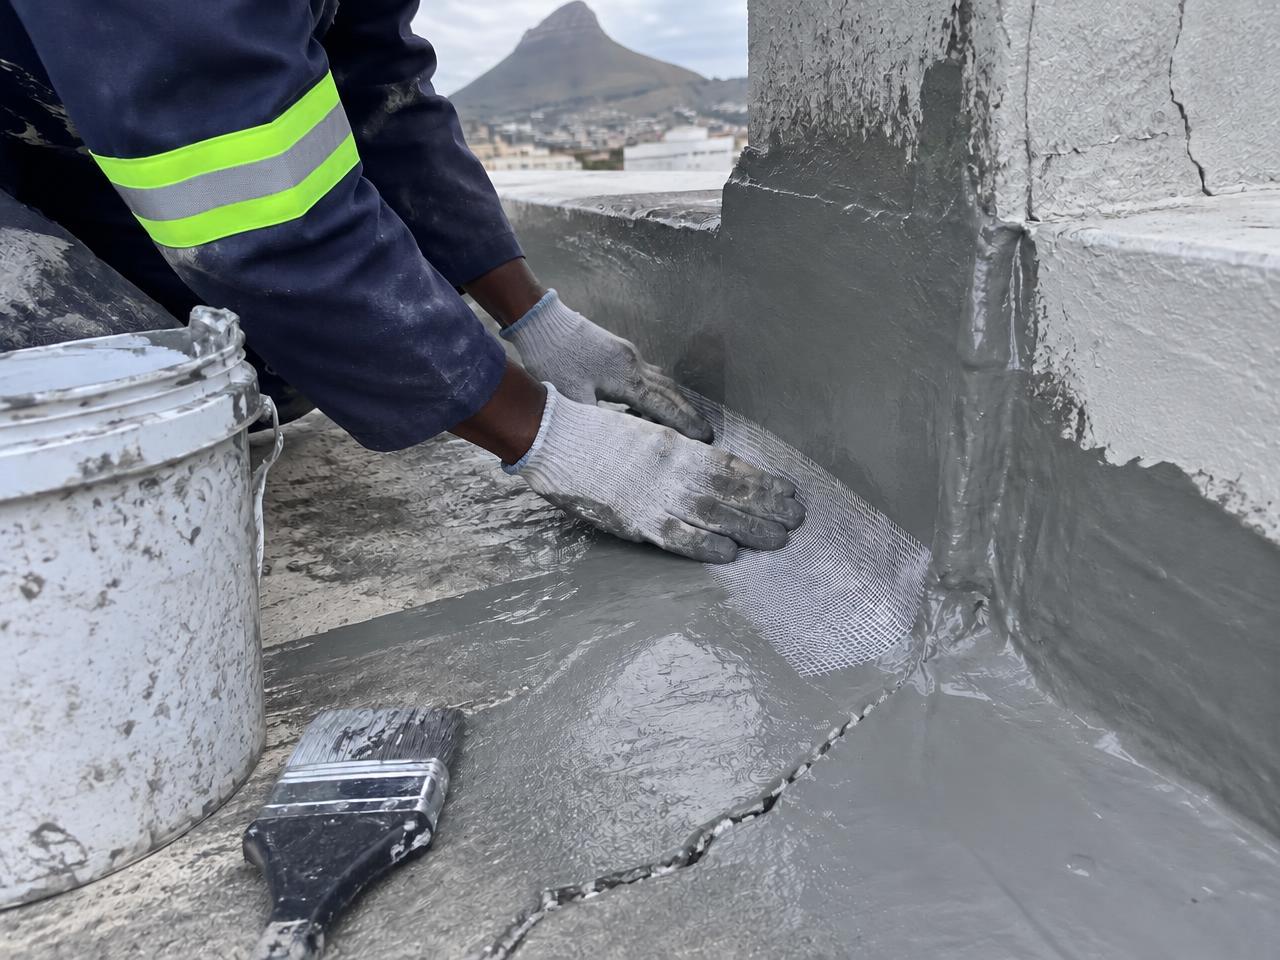
Detail work
Reinforcing mesh bedded into wet membrane at the weak points, where leaks always start.
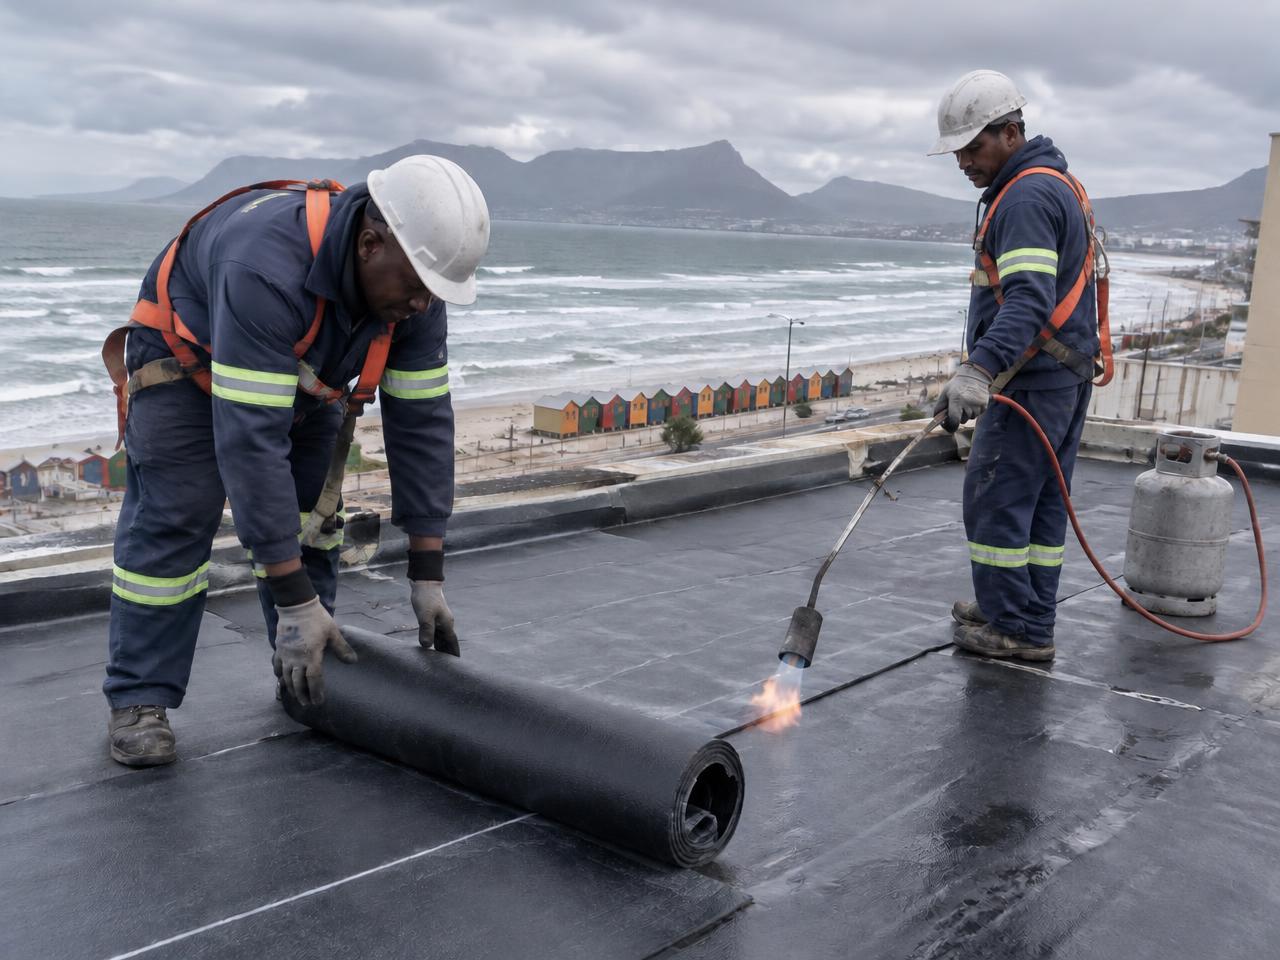
Beachfront · Muizenberg
Rolls laid straight with proper laps and heat-welded, ready for salt air and wind.
We find where water gets in, where it sits and why.
Loose, blistered or wet layers come off. No covering up.
Screed corrected so water runs to the outlets.
Primer, then outlets, upstands and corners reinforced first.
Membrane laid with proper laps, turned up and sealed at walls.
Reflective coat where needed, outlets cleared, roof walked with you.
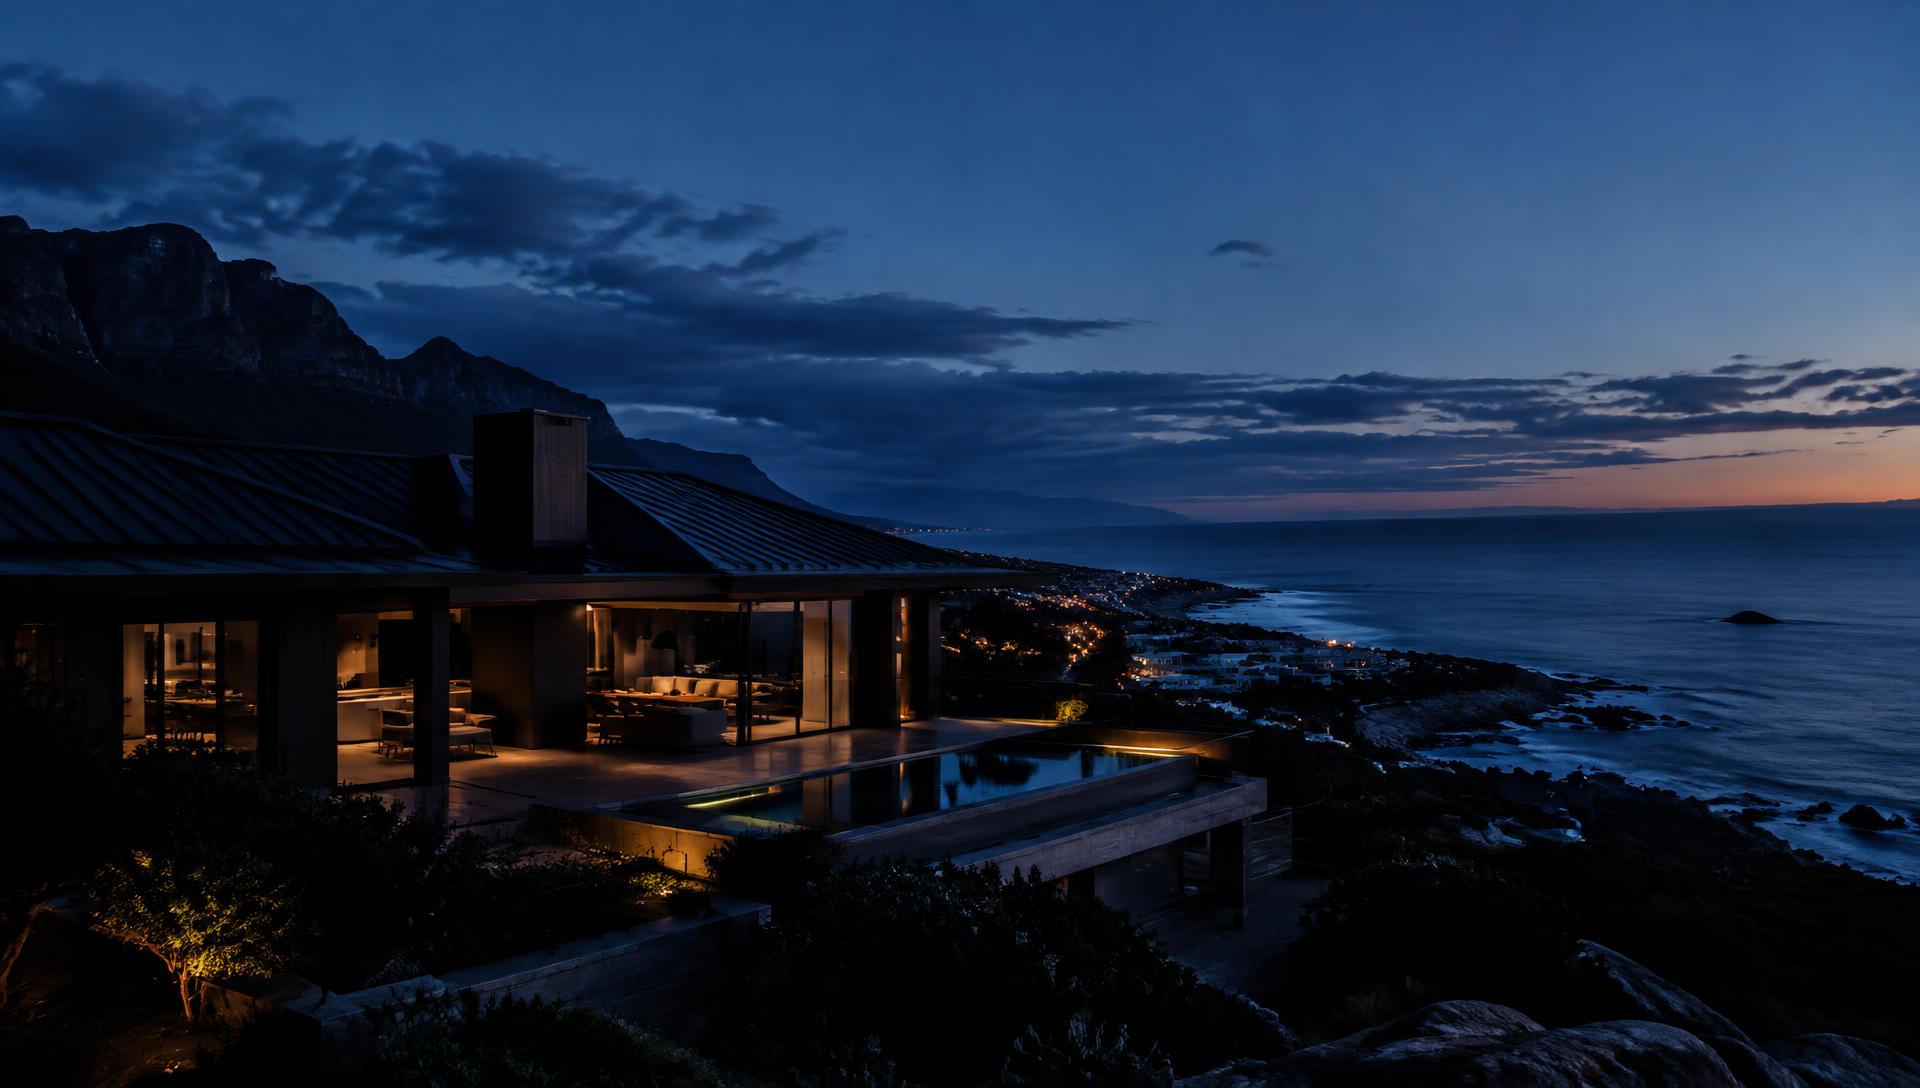
Tell us about the building. We'll look at it properly, put the scope in writing and tell you straight what it needs.
Site inspections are R2,200, deducted from your quote if you go ahead.
Quality Workmanship. Lasting Protection. Professional Service.